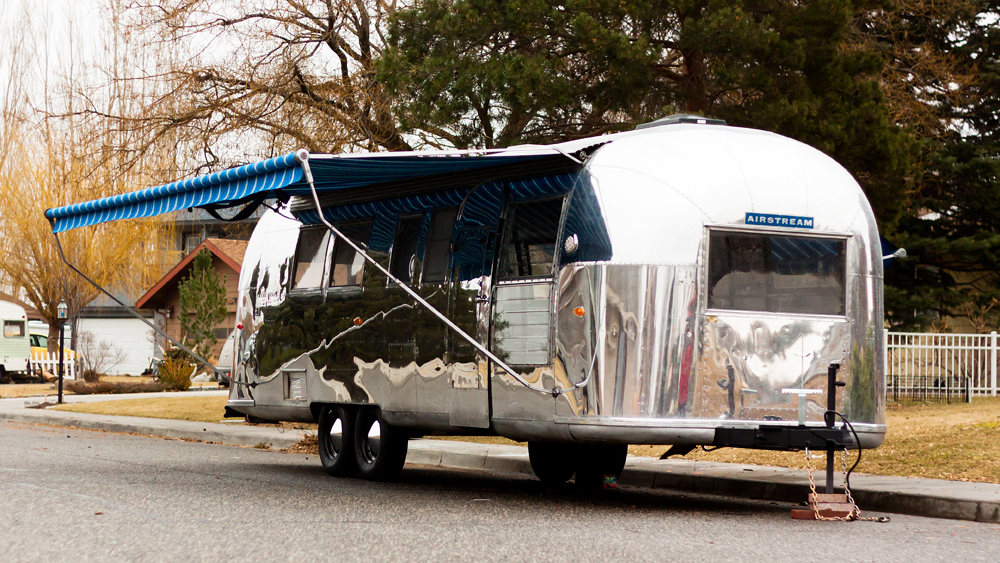
Like most people who just acquired a vintage Airstream, I spent time envisioning what it would like when it was done. Shiny, mirror like polishing, new tires, wheels and hub caps, new lights, new windows, designer interior, gold plated steps, diamond studded this, ruby studded that. It was going to be grand.
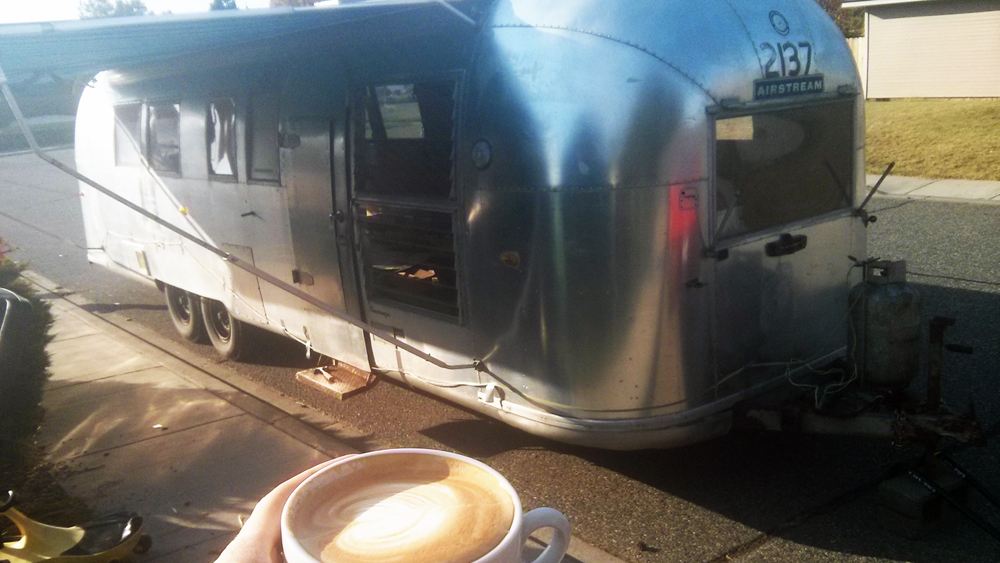
But first, a cup of coffee to get started.

Stripping Off The 50 Year Old Look
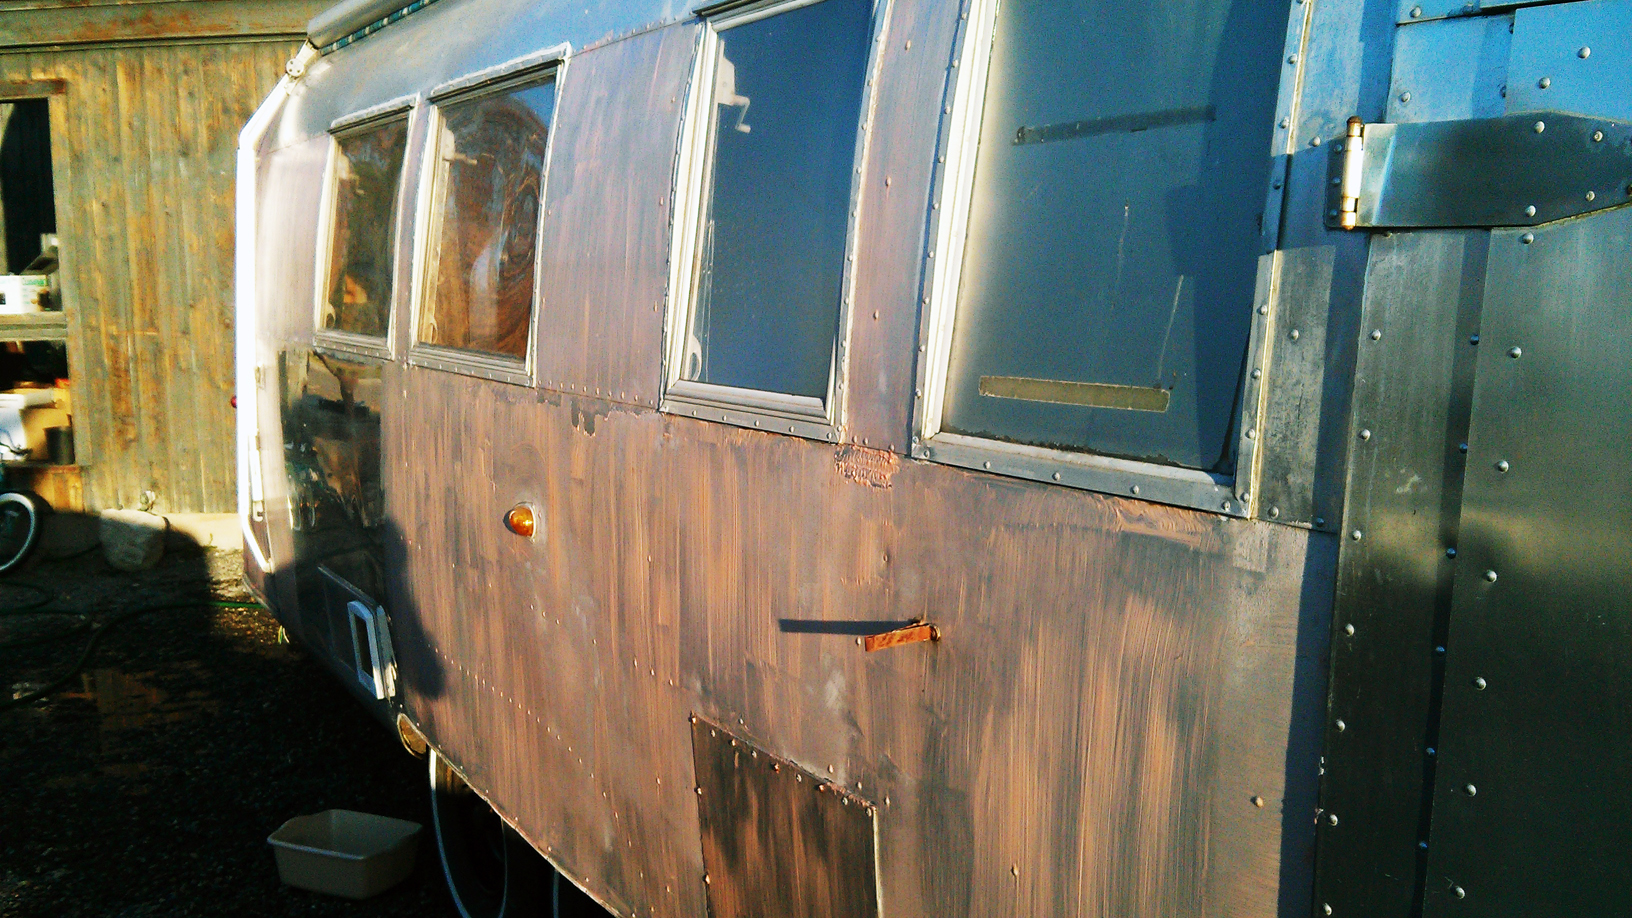
Where to begin. I knew I was needing to find a shop to park this in so I could remove and keep material protected from the elements. It was October and the weather was going to be turning any day and renovating outside wasn’t an option. So until I found a suitable shop everything I was going to do at the house would be exterior stuff. I started with stripping things off the exterior and getting ready to strip the clear coat off. Before polishing, the 50 year old clear coat needs to be stripped off to get to bare aluminum. But before using stripping agents, the entire Airstream needed a good bath with a good scrubbing. I used a pressure washer to remove a thin layer of green haze that old trailers on the west side of the mountains tend to develop. After the bath I began to strip it. I tried three different stripping products: Citris Strip from Home Depot, Eldorado PR-5044 (from Vintage Trailer Supply – VTS) that we had left over from Miette’s Airstream work and finally the nasty stuff; Aircraft Paint Remover that I got from AirstreamSupply.com (they used to be in Auburn, Washington but moved to Utah).

Citris Strip is the most non-toxic of the three but the least effective. It stripped, don’t get me wrong, but some spots it didn’t touch and it needed to be left on for 2-4 hours (I washed areas off before 2 hours and it wasn’t stripping it). The Eldorado stuff was next best in effectiveness but it missed some spots too but didn’t need to be left on as long; maybe 30 minutes? The Aircraft Paint stripper was the fastest (visibly dissolved the clear coat in 15 minutes) and most effective but also the most toxic. We don’t like toxic. Thankfully, 90% of the clear coat I was able to remove between the two others and only had to use a small amount of the toxic stuff to get the stubborn areas. I could have saved a whole bunch of time by using the Aircraft stripper, but having a cancer surviving daughter, toxic stuff just isn’t in the cards anymore. I spent a couple days between using each stripper product and washing the Airstream. It took longer than I wanted.
Most people say to remove the plastics before stripping but I didn’t. I was replacing all the exterior lights anyway so I left them on. The windows were made of Plexiglas which I was going to change out to tempered glass so I didn’t bother to mask those off.
Polishing – Which Method?
Most people save the polishing for last since there will be exterior skin work that needs to be done during a restoration project. However, for the weather reasons stated above, I started on the exterior first. There seems to be two ways of polishing a vintage Airstream: the “Perfect Polish” or the “Black Bar” method. I won’t go into a ton of detail on how to do each one (there are a lot of other websites and posts on Airforums.com describing the details of each method) but I will say I used a hybrid approach after trying the Perfect Polish only method. I started with using Nuvite F7 and the wool bonnet. That was not taking off some of the stubborn spots. It was bugging me, seeing some splotchy areas in addition to it taking a long time just to try and get those splotchy areas less… splotchy. So I ordered some F9 and tried that. Not much a difference and it still took a long time. Then I went to Harbor Freight, grabbed an 8″ spiral buffing wheel and a bar of brown polish compound. I used the buffing wheel on the polisher with the brown stick and wow… what a difference. It covers less area at a time compared to the wool bonnet but it cuts through the metal much faster. I did two passes with the buffing wheel method compared to over and over and over and over with the F7/9 and wool bonnet. I’m sure there are better products to use than what I got at HF, but using the buffing wheel method as the first step is superior in my mind.

Once the first initial cut is done and you can get to the clean, raw aluminum (the first pass creates a reflection – granted, with an ugly pattern in the sunlight) then the Nuvite F7 does much, much better and goes faster. Then, after the F7 I went to the C and then on to the S. So the process I used: Black (or brown) Bar –> F7 –> C –> S. Don’t worry that there’s 4 steps in there compared to the 3 steps for the Perfect Polish method… it was still faster. I’m not gonna say my polishing job was really great; I couldn’t spend a great deal of time on it since I need to get this Airstream completely renovated and converted in a matter of 3 or 4 months. But I’m satisfied. Better products than HF should give better results as well. I’ve read that Fastenal has good cotton buffing wheels. I will know what to do for Miette’s Airstream polishing job now.

Of course, I found all the polishing stuff out through the 3 months of polishing on and off (this blog won’t be an exact chronological description of the process. I’ll jump around a bit). I will say polishing in the cold isn’t doable. The metal is cold and is harder to cut. The warmer the metal is the easier it is to cut. So I polished outside, in October and November except on the really cold days. If it got below 50° I bailed on the polishing.
So there’s my version of the polishing method. I”m sure others have figured out something similar using the two methods. I can say this after finishing the polishing… renovating an Airstream is WORK.
